Design a Building-
Create a City

With Artist in Residence, Trevor Streader, the 3/4
neighbourhood students will create a series of buildings that will come
together to create a unique city. Students will become familiar with the design
process and Trevor will discuss the concept of design systems and explain that
even though we are all using the same components and system, there is the
potential for these to be organised in many different ways.
Students will be working as designers, discussing the
brief, investigating, problem solving, exploring ideas and making. They will
work both individually and collaboratively and will explore the links between
the design, art and craft worlds.
The stages of design:
|
1.
Research
|
2.
Design concept
|
3.
Design development
|
4.
Making
|
Week 1
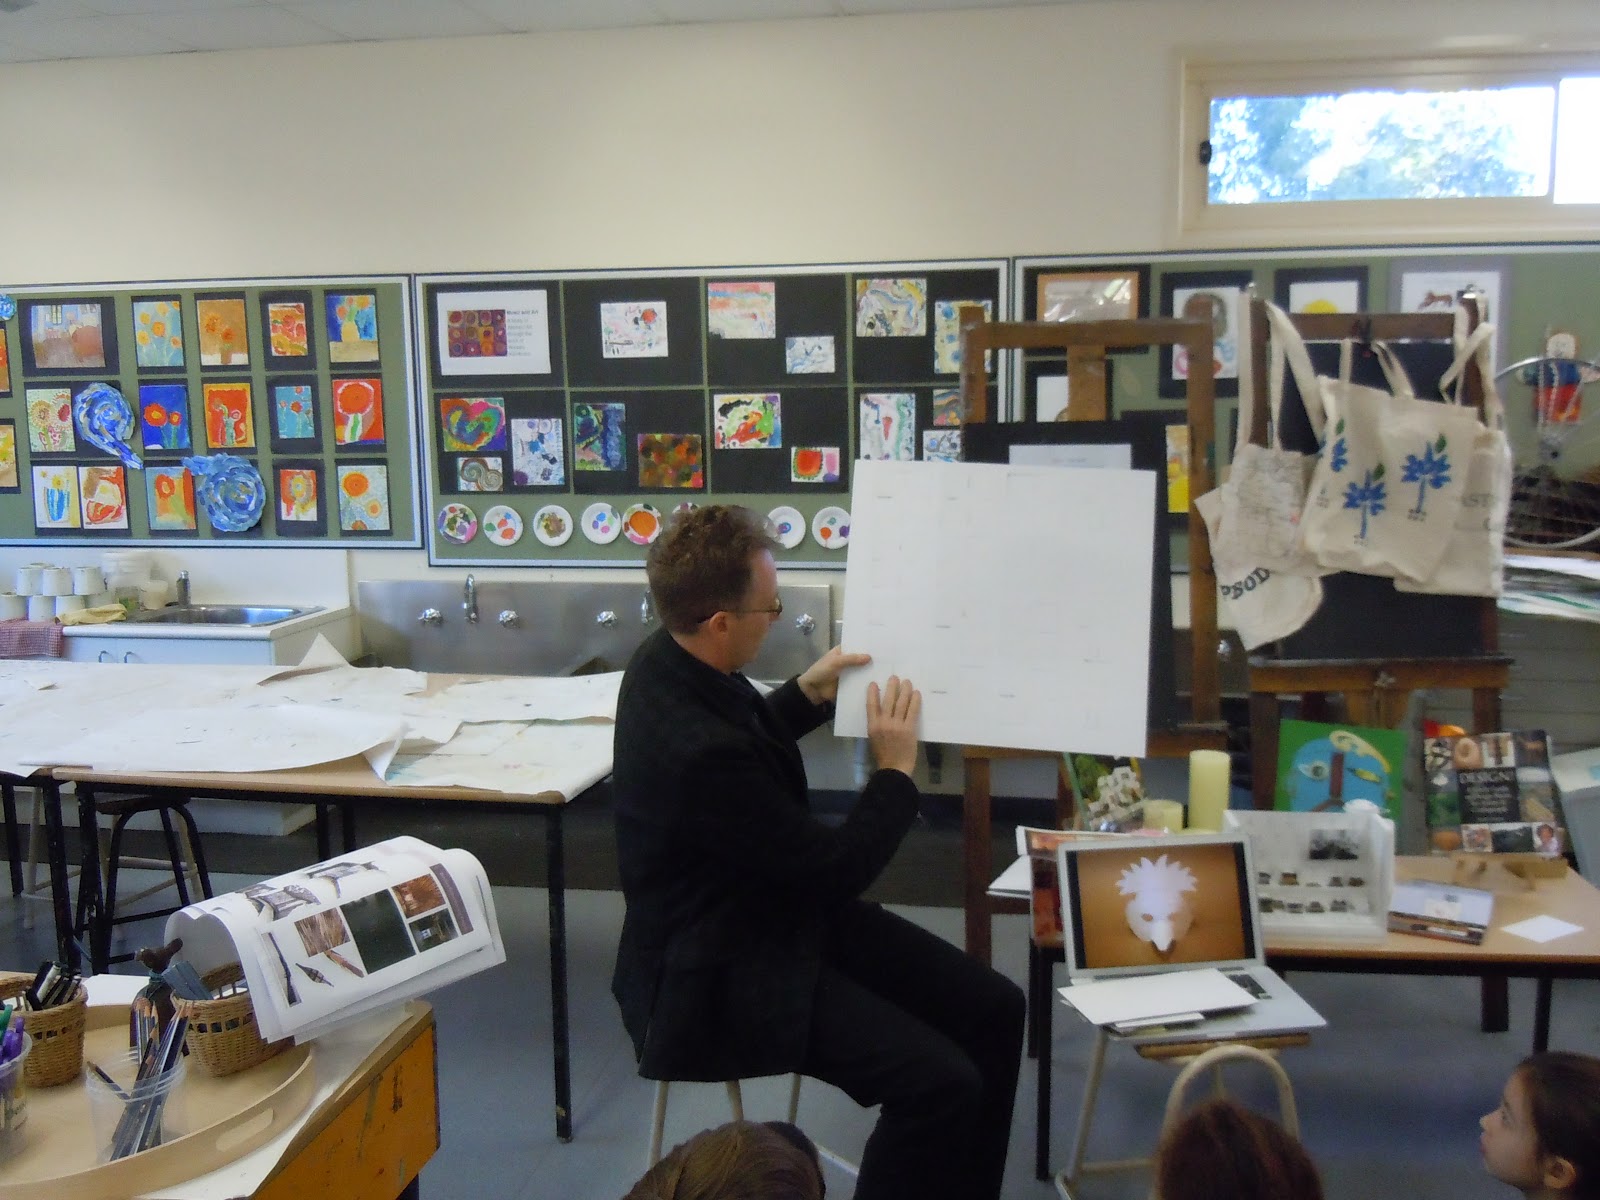
This week students listened to an introductory talk by
Trevor about the designing exhibition at Melbourne Museum.

Our discussion:
What do designers do?
“Designers
communicate stories about the objects. This happens through models, text,
diagrams, videos and movies and the objects themselves.
Designers
often bring in other people with a range of skills, like artists and
photographers, to help them with their designs and models.” Trevor
Designers
design houses, show what something might look like, they do sketches. Andrew
and Lucien
Artists
paint pictures but designers have to put everything together.
Beth
Architects
design and map out the design for the builder. Ruli
The
architects make a model and plans for the builder.
Ruli
“So
the architect makes sketches, solves problems, makes plans and then models
before people are bought in to build.
Research is important too. Designers collect images to influence them in
some way. At the start of a process we use mood boards to get the process
going. These mood boards are a collection of images that are somehow related to
what the subject is.” Trevor
How do designers communicate ideas?
“They
use models. It is important to be careful with scale when building models.
Everything that goes into the models is very carefully considered and thought
out. Making a model gets the idea out of your head and makes it into something.
It is about trying and testing ideas and often new ideas come from these. Models show other
people what something looks like.” Trevor
Taking the Brief:
A brief explains the project that a designer will be
working on.
Over the course of the next 5 weeks the students will
create a model and design a certain type of building.


This week, students were introduced to and investigated:
- design system examples
- card elements
- collaborative exploration into the elements
Week 2
This week students were given a brief by Trevor. A brief
is the starting point of a design project. Designers are given briefs by their
clients. Artists start with their own ideas from their own starting point and
experiences.
Different shapes in a building can give you a different
feeling about it. Shapes can evoke emotional responses.
Designers look to nature often for their inspiration.
“When
I look at Federation Square I look see it as abstract shapes”. Max
We viewed a range of buildings that inspired us and gave
us ideas for our own projects.

We asked :
Who is the building for?
What is it use?
What is the purpose of the building?
After viewing the photographs of a range of amazing
buildings from around the world, we set about creating our own design following
a design brief set by Trevor.
We discussed the process of sketching our ideas: when you
first start sketching you are testing ideas and because you are trying out
ideas you are free to experiment. As you progress through your ideas, some will
stand out more than others and these will be the ones you will take further.
Often designers start with drawings that are smaller rather than larger.
Designers also often write their thoughts on their designs.
We discussed the benefits of making mistakes. We had a
discussion about making mistakes, and how a mistake can lead to many new
discoveries and inspire designers and artists to create something original and
new.
After viewing the photographs we set about creating our
own designs. Trevor presented each
student with a design brief.

These are the steps that we will follow as designers over
the course of the next few weeks.
Your
Project
To design and make a model of a specific type of building
Step 1 - Choose the type of
building you would like to design
It must have a specific use
For example it could be:
-
A gym where people exercise
-
A library where people read or borrow books
-
A supermarket where people buy food
-
A theatre where people go to be entertained
-
A museum where people go to see things and learn or
be
Step 2 – gather information
about your type of building
Ask
-
who is it for?
-
what is it used for?
-
how will people use it?
-
when will people use it?
-
how would you like your building to feel?
-
how would you like your building to look?
Step 3 – look for
inspiration for your design by looking at other building designs on the
internet
Step 4 – sketch and draw
lots of ideas you have for your building
Step 5 – decide which ideas
you like and do a final drawing of your design
Step 6 – use the cardboard
pieces supplied to form the skeleton of your building
Step 7 – use the textured
paper to fill in your design and give it character
Step 8 – make a sign for
your building and stick it to the outside
Step 9 –set up your model
for a photograph
Step 10 – make a city
with your classmates by placing all the models together
…
Students reflected and discussed possibilities for their
designs with Trevor and then created a series of rough sketches of their
initial ideas.

We then set about drawing our designs, mapping out our
ideas and playing around with things that have inspired us.


Week 3
This
week Trevor asked the students if they were inspired by any buildings during
the week. Many students noticed buildings and shapes they hadn’t noticed
before. Some even kept notes in their notebooks.

Trevor
re-read the Design Brief we discussed last week and noted we are now up to
stage 5. Today students focussed on making a final decision about their designs.
They restructured and re drew some designs and made some alterations.


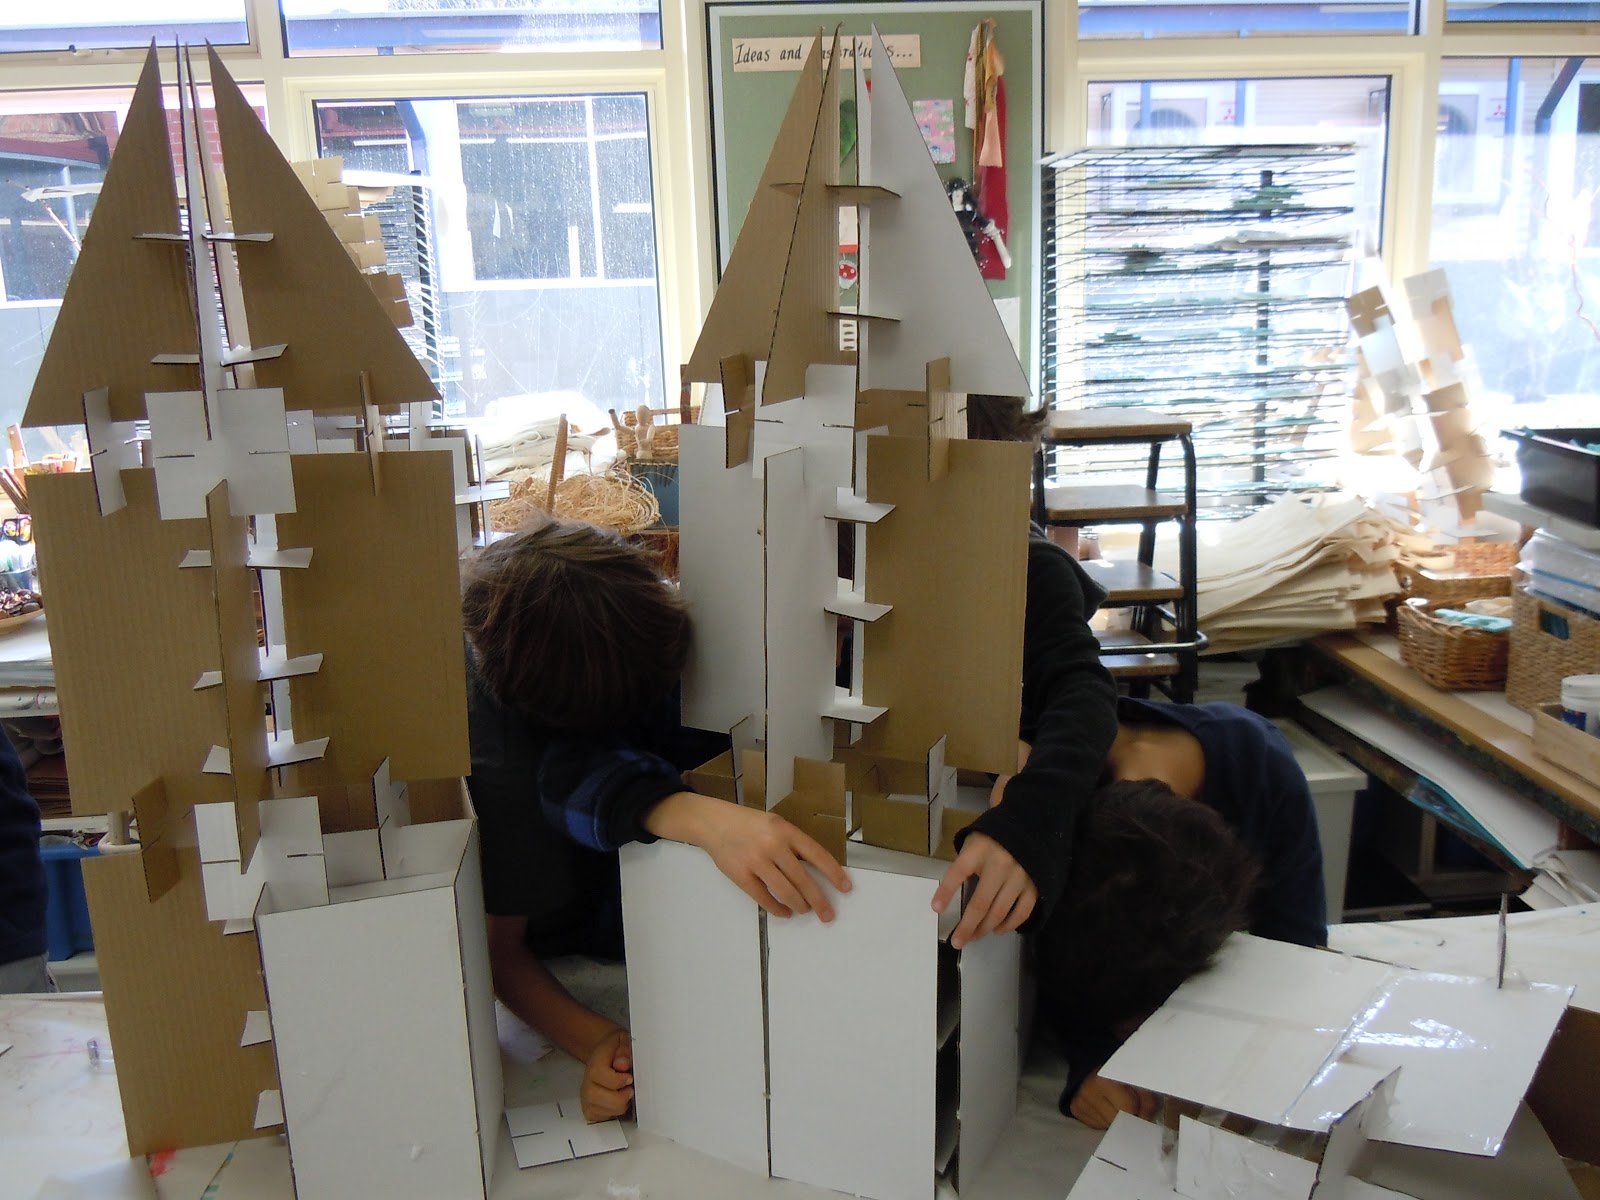
This
week is also about beginning to build and construct the skeleton of the
building. Students experimented and played with the cardboard shapes and
materials. There are 4 different shapes; the rectangular, square, narrow
rectangular and triangle shape. There are also joiners/connectors to use. Students
discovered that if they used more connectors it was easier to stabilise the
structure.

Students
worked at the tables and examined their sketches. Students needed to review their
drawings and finalise their sketches. When they were satisfied with their final
sketch, they then started to collect the cardboard shapes and begin to start to
work on the model. Students
wondered if they could adjust their cardboard pieces. Students were asked not
to change, fold or cut the systems or the basic shapes initially. It proved
much more challenging to use the basic shapes provided to make the model design.


We
also noticed the second group of students benefited greatly from seeing how the
structures of the first group had evolved.

Students
discovered this week, that at this early stage in the design process, the
models looked more like the skeleton of the building. We look forward to pursuing and developing our ideas further next week.
Week 4
This
week we worked so hard to stabilise our buildings. We realised that a lot of
the work we did last week was experimental and this week we had to modify our
work and further develop the main structure.

The
challenge of course has been to work with the limitations of the system
provided by Trevor. This created the most frustration when making but also the
most satisfying results when we found solutions to problems. We realised that
these were often the same difficulties faced by designers when they are given a
brief.


We
reflected on the process of building:
I am
making the structure more stable. Seb
I
had to rebuild my building and work hard to give it structure. Charles.
The
size of my building has been a challenge. Jack
I
had to make it smaller and make the scale smaller. Najma
The
challenge for me was piecing together using the connectors. Micah
My
challenge was to make it stable when it was so narrow and tall. Sascha
I
had trouble making my structure straight. I started off using just one
connector but I realised I needed more connectors to make it more stable.
Isabella

Week 5

This week our aim was to finalise and
stabilise the skeleton of or structure. It
was our final chance to resolve the design issues and decide what our building
would look like.

We used cellotape to tape the stabiliser
sections to the main panels and our aim was to be able to lift the work up as a
whole without it collapsing.

So this week was about consolidating the
design and consolidating the strength of the structure.
Once we had established these stages in the
process of our design brief, we were ready to move onto the next stage. This next
stage was to add an outer shell to our building, joining flaps and panels on to
the skeleton to complete the building process. We had, however, made a decision
to keep some faces of our building open so that we were able to view the
skeleton of our buildings from some viewpoints.
The internal structure has been an important
part of our design and we wanted, to some extent, for this to be open, exposed
and seen.

Our
aim was to be completely ready for next week so we can cover select parts of
our buildings with decorative paper and foil.
No comments:
Post a Comment